事件处理
About 4 min
1. 事件的基本用法
- 使用
v-on:xxx或@xxx绑定事件,其中xxx是事件名 - 事件的回调需要配置在 methods 对象中,最终会在 vm 上
- methods 中配置的函数,不要用箭头函数,否则 this 就不是 vm 了
- methods 中配置的函数,都是被 Vue 所管理的函数,this 的指向是 vm 或组件实例对象
@click="xxx"和@click="xxx()"效果一致,但后者括号里面可以传参
例:
<!DOCTYPE html>
<html lang="en">
  <head>
    <meta charset="UTF-8" />
    <meta http-equiv="X-UA-Compatible" content="IE=edge" />
    <meta name="viewport" content="width=device-width, initial-scale=1.0" />
    <title>事件的基本使用</title>
    <script src="https://cdn.jsdelivr.net/npm/vue@2/dist/vue.js"></script>
  </head>
  <body>
    <div id="root">
      <h2>欢迎阅读{{name}}的笔记</h2>
      <button v-on:click="showInfo">点我提示信息</button>
      <button @click="showInfo1()">点我提示信息1(不传参)</button>
      <button @click="showInfo2($event,66)">点我提示信息2(传参)</button>
    </div>
    <script>
      Vue.config.productionTip = false
      const vm = new Vue({
        el: '#root',
        data: {
          name: 'zhf',
        },
        methods: {
          showInfo() {
            alert('你好呀!这是完整写法绑定事件')
          },
          showInfo1() {
            alert('你好呀!这是简写方法绑定事件,不传参')
          },
          showInfo2(event, number) {
            alert(`你好呀!这是简写方法绑定事件,传参,传递到参数是${number}`)
            console.log(event)
          },
        },
      })
    </script>
  </body>
</html>
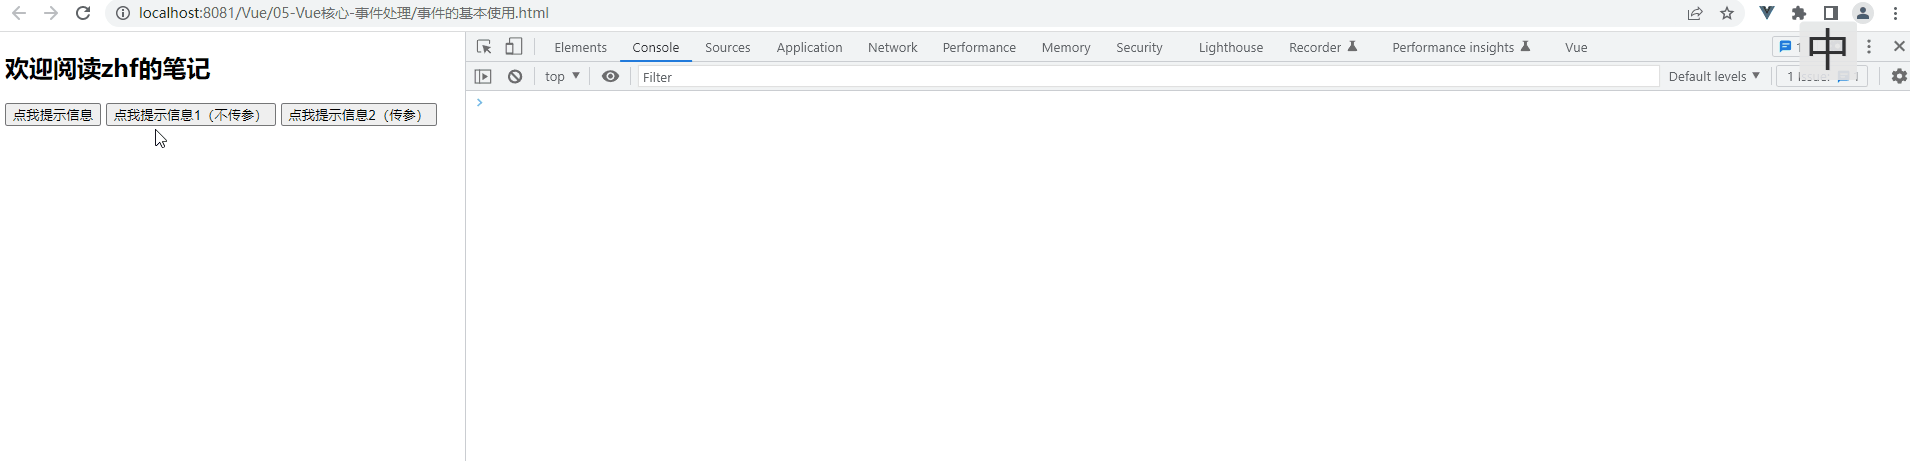
效果:
2. 事件修饰符
Vue 中的事件修饰符:
prevent阻止默认事件(常用)stop阻止事件冒泡(常用)once事件只触发一次(常用)capture使用事件的捕获模式self只有event.target是当前操作的元素时才触发事件passive事件的默认行为立即执行,无需等待事件回调执行完毕
注意:修饰符可以连续写,比如可以这么用:@click. prevent.stop="xxx"
例:
<!DOCTYPE html>
<html lang="en">
  <head>
    <meta charset="UTF-8" />
    <meta http-equiv="X-UA-Compatible" content="IE=edge" />
    <meta name="viewport" content="width=device-width, initial-scale=1.0" />
    <title>事件修饰符</title>
    <script src="https://cdn.jsdelivr.net/npm/vue@2/dist/vue.js"></script>
    <style>
      * {
        margin-top: 20px;
      }
      .box {
        height: 50px;
        background-color: skyblue;
      }
      .box1 {
        padding: 5px;
        background-color: skyblue;
      }
      .box2 {
        padding: 5px;
        background-color: white;
      }
      .list {
        width: 200px;
        height: 200px;
        background-color: skyblue;
        overflow: auto;
      }
      li {
        height: 100px;
      }
    </style>
  </head>
  <body>
    <div id="root">
      <h2>欢迎来{{name}}学习</h2>
      <!-- 阻止默认事件(常用) -->
      <a href="https://www.qfnu.edu.cn/" @click.prevent="showInfo">点我提示信息</a>
      <!-- 阻止事件冒泡(常用) -->
      <div class="box" @click="showInfo">
        <button @click1="showInfo">点我提示信息</button>
      </div>
      <!-- 事件只触发一次(常用) -->
      <button @click.once="showInfo">点我提示信息</button>
      <!-- 使用事件的捕获模式 -->
      <div class="box1" @click.capture="showMsg(1)">
        div1
        <div class="box2" @click="showMsg(2)">div2</div>
      </div>
      <!-- 只有event.target是当前操作的元素时才触发事件 -->
      <div class="box" @click.self="showInfo">
        <button @click="showInfo">点我提示信息</button>
      </div>
      <!-- 事件的默认行为立即执行,无需等待事件回调执行完毕-->
      <!-- scroll是滚动条滚动,passive没有影响 -->
      <!-- wheel是鼠标滚轮滚动,passive有影响 -->
      <ul @wheel.passive="demo" class="list">
        <li>1</li>
        <li>2</li>
        <li>3</li>
        <li>4</li>
      </ul>
    </div>
    <script>
      Vue.config.productionTip = false
      new Vue({
        el: '#root',
        data: {
          name: '曲阜师范大学',
        },
        methods: {
          showInfo() {
            alert('同学你好!')
          },
          showMsg(msg) {
            alert(`${msg}`)
          },
          demo() {
            for (let i = 0; i < 100000; i++) {
              console.log('#')
            }
            console.log('累坏了')
          },
        },
      })
    </script>
  </body>
</html>
效果:

3. 键盘事件
键盘上的每个按键都有自己的名称和编码,例如:Enter(13),而 Vue 还对一些常用按键起了别名方便使用
- Vue 中常用的按键别名:
回车 enter
删除 delete 捕获“删除”和“退格”键
退出 esc
空格 space
换行 tab 特殊,必须配合 keydown 去使用
上 up
下 down
左 left
右 right
Vue 未提供别名的按键,可以使用按键原始的 key 值去绑定,但注意要转为
kebab-case(多单词小写短横线写法)系统修饰键(用法特殊)
ctrlaltshiftmeta(meta就是win键)- 配合 keyup 使用:按下修饰键的同时,再按下其他键,随后释放其他键,事件才被触发,指定
ctr+y使用@keyup.ctr.y - 配合 keydown 使用:正常触发事件
- 配合 keyup 使用:按下修饰键的同时,再按下其他键,随后释放其他键,事件才被触发,指定
也可以使用 keyCode 去指定具体的按键(不推荐)
Vue.config.keyCodes.自定义键名 = 键码,可以去定制按键别名
例:
<!DOCTYPE html>
<html lang="en">
  <head>
    <meta charset="UTF-8" />
    <meta http-equiv="X-UA-Compatible" content="IE=edge" />
    <meta name="viewport" content="width=device-width, initial-scale=1.0" />
    <title>键盘事件</title>
    <script src="https://cdn.jsdelivr.net/npm/vue@2/dist/vue.js"></script>
  </head>
  <body>
    <div id="root">
      <h2>欢迎阅读{{name}}的笔记</h2>
      <input
        type="text"
        placeholder="按下回车提示输入"
        @keyup.enter="showInfo"
      />
      <br />
      <input
        type="text"
        placeholder="按下tab提示输入"
        @keydown.tab="showInfo"
      />
      <br />
      <input
        type="text"
        placeholder="按下回车提示输入"
        @keydown.huiche="showInfo"
      />
      <br />
    </div>
    <script>
      Vue.config.productionTip = false
      Vue.config.keyCodes.huiche = 13 // 定义了一个别名按键
      new Vue({
        el: '#root',
        data: {
          name: 'zhf',
        },
        methods: {
          showInfo(e) {
            alert(`${e.target.value}`)
          },
        },
      })
    </script>
  </body>
</html>
效果:
